How to Compress an Image Below 200 KB
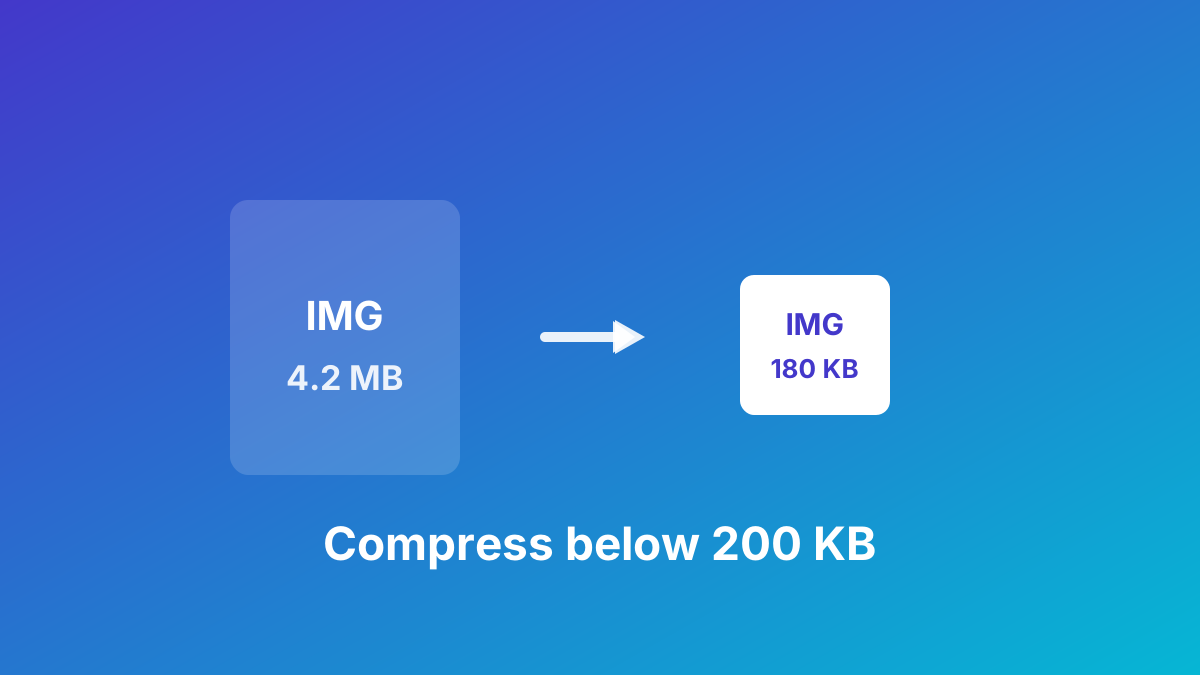
Getting an image under a hard size limit — 200 KB for a form upload, an email, or a fast-loading web page — is mostly about three levers: dimensions, format, and quality. Pull them in the right order and you can usually hit the target with no visible loss.
1. Resize before you compress
A 4000-pixel-wide photo has far more data than any web page or upload needs. If the image will be displayed at 1200px, resize it to about 1600px first. Halving the dimensions cuts the pixel count to a quarter, which often does more for file size than any quality setting.
2. Pick the right format
- Photographs → JPG or WebP. Lossy compression shrinks continuous-tone images dramatically.
- Logos, icons, screenshots, flat colour → PNG (or lossless WebP) to keep edges crisp.
- Anywhere modern browsers are the audience → WebP, which is typically 25–35% smaller than JPG or PNG at the same quality.
If a PNG photo won't drop below 200 KB, that's expected — convert it to JPG or WebP instead.
3. Lower quality until you approach the limit
Re-encode at quality ~75 and check the size. For most photos that already lands well under 200 KB with no visible difference. Drop toward 60 if you need more; below about 50 you'll start to see blocky artifacts in skies and gradients.
A quick worked example
A 4.2 MB, 4000×3000 JPEG resized to 1600×1200 and saved at quality 72 lands around 180 KB — comfortably under the limit and sharp at screen size.
Do it in your browser
The Image Compressor does steps 2 and 3 with a live before/after preview and the exact size saving, and pairs with the Image Resizer for step 1. Everything runs on your device — the file is never uploaded.
Sources
Ready to do it?
Open the Image Compressor